Thursday, May 29, 2014

Mixed Media Blog Hop with Imagine Crafts and Viva Las VegaStamps

Mixed Media Blog Hop

 Welcome to the IMAGINE Crafts and Viva Las VegaStamps! Blog Hop. For the next week, our two design teams will be featuring some amazing projects featuring products from both our companies. Amazing stamps require amazing ink, right?

Mixed Media Prize Package

We're proud to announce your chance to win one of three different Mixed Media Prize Packages from IMAGINE Crafts and Viva Las VegaStamps! You have until midnight PST on Sunday, May 31st 2014 to comment on as many of the Design Team Blog Posts from this week as possible. On Monday, June 1st we’ll draw three random blog posts and one comment from each of those posts will win a prize package!

Ready for some inspiration from our artists?

Here are today's posts from IMAGINE Crafts:


and from Viva Las VegaStamps!:


  If you're just joining us on the Mixed Media Blog Hop, here are the links to the previous days posts:


Saturday


Sunday


Monday


Tuesday


Wednesday


Thursday


***Blog Hop Hint – if you click on a link that takes you to a page saying something like, “Sorry this page cannot be found” just click on the header at the top of the blog (usually a picture or the blog’s name) and it will take you to that blog’s most recent post. That post *should* be our hop. If not, you can probably scroll down a short way to find the hop post.


Welcome to my blog! I hope you enjoy my card for the Blog Hop . Being from New England, and spending summers at Martha's Vineyard, I have always loved using Mermaids in my designs, they have always given me creative inspiration. After seeing that Viva Las Vega Stamps has a wonderful selection of mermaids stamps, I will definitely be adding more to my collection. Sorry dear hubby.

Here is the project that I created.


Supplies Used:

Imagine Crafts/ TSUKINEKO 

  • MEMENTO
    • Tuxedo Black
    • Bahama Blue
    • Lilac Posies
    • Lulu Lavender
    • Pear Tart
    • Dandelion
    • Summer Sky
    • Toffee
  • Tack ' N Peel
  • GooseBumps Spray
  • Sponge Daubers
  • Fantastix


Viva Las VegaStamps

  • Mermaid Stamp plate 1104


Other Manufacturers

  • Crafters Workshop - stencil
  • Spellbinders - diecuts
  • EK Success Martha Stewart leaf punch


Let's get started --

Have you ever used Imagine Crafts Tack ' n Peel? It really is an amazing product, it is simple, holds great, and my favorite part it is reusable! 


To start off, I first stamped the top half of her body using Tuxedo Black and then stamped the tail portion using Bahama Blue onto white stamping paper.


Next, using a Fantastix, I colored both her upper body and her tail section using the other colors of Memento inks. I then cut out both sections and sprayed her tail with GooseBump for some added sparkle.


To create the card base I used a piece of 11" X 6 1/2" blue card stock folded in half . Using my stencil and fingertip dauber, I inked around the edges using Bahama Blue and Summer Sky of my card base and the frame that I had cut with my Spellbinders die.

I then embossed a 4 1/2" X 5 1/2" piece of white card stock and gently daubed with some Pear Tart, Summer Sky and Dandelion to really enhance the design. Next I die cut a decorative corner and inked it with Lulu Lavender and Dandelion. I punched out some branches, inked them with Pear Tart and used them for the seaweed.


I then adhered all the layers together, added a decorative brad to the corner and attached it to my card base. Using pop dots to attach the mermaid I completed my card.


I hope you enjoyed my card today and as always, I always appreciate your support and comments.

Please stop by and visit again! 

           Thank You,
            Nancy


Wednesday, May 21, 2014

Celebrate NEON Blog Hop

Stampendous and Imagine Crafts Header 

Welcome to a week of fantastic collaboration between IMAGINE Crafts and Stampendous! We have to admit that our two companies were made for each other and we're proud to have shared a long relationship of working together. After all, what are stamps with out ink? The projects created by our artists this week feature IMAGINE Crafts Radiant Neon™ inks paired perfectly with coordinating colors of Fran•táge Color Fragments from Stampendous, along with some of their newest stamp designs and Stack Art kits.

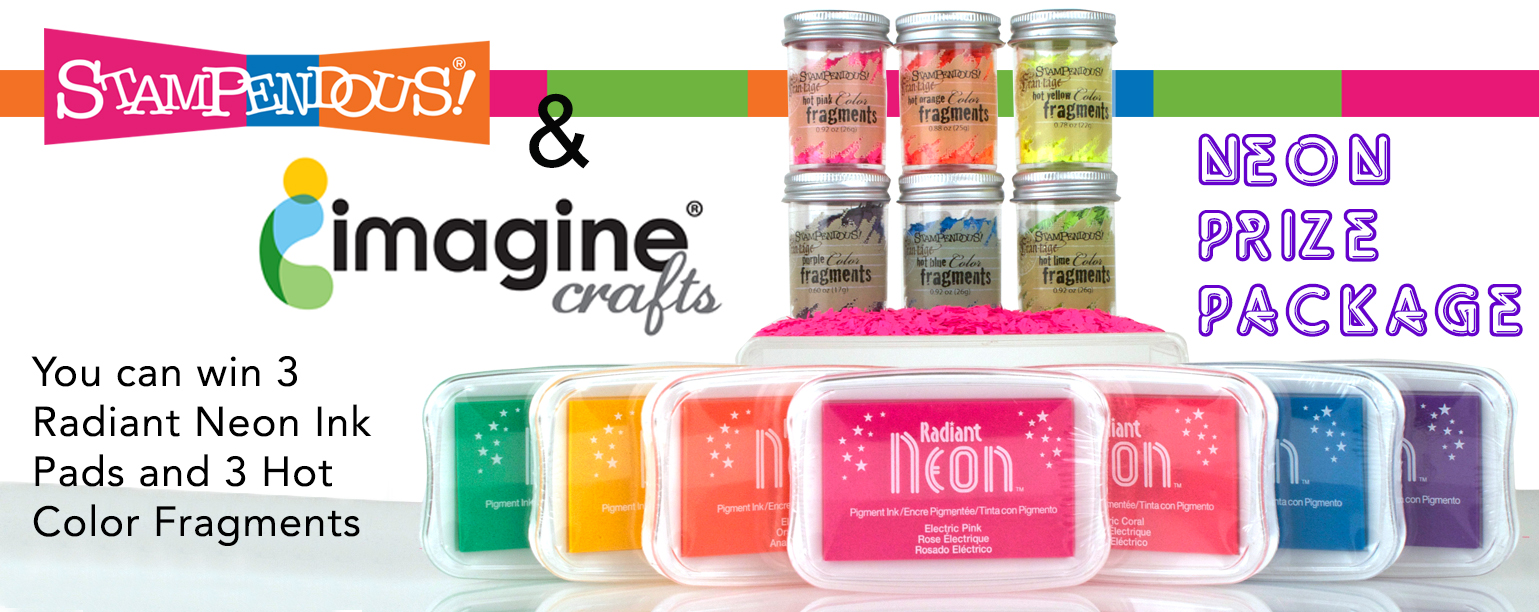
STM Imagine Crafts Prize Package

  You can win 3 of the brand new Radiant Neon™ ink pads and 3 jars of our Color Fragments! We'll give away three prize packages (color is our choice) to U.S. Mailing addresses. You have until the end of Sunday, May 25 to comment on as many of the Design Team Blog Posts from this week as possible. Monday we'll draw three random blog posts and one comment from each of those posts will win a prize package! You can find the Official Rules for all our contests HERE. We'll announce winners next week, so be sure to check back with us or subscribe to our blog or Facebook page!

So are you ready for some exciting inspiration?


Kristine Reynolds

Darsie Bruno

Janelle Stollfus

Jamie Martin

John Creighton Petersen

Krissy Fossmeyer

Tobi Crawford

Tenia Nelson

Wendy Price

Rhea Weigand

Lea Kimmel

Suzanne Czosek


***Blog Hop Hint - if you click on a link that takes you to a page saying something like, "Sorry this page cannot be found," just click on the header at the top of the blog (usually a picture, or the blog's name), and it will take you to that blog's most recent post. That post *should* be our hop. If not, you can probably scroll down a short way to find the hop post.

If you missed any of the previous days of the Hop, select one of these links to take a look at the artists and the projects that they created: MONDAY May 19th, TUESDAY May 20th, WEDNESDAY May 21st, and THURSDAY May 22nd.

You can check out the Official Rules for all our contests if you have questions.


Welcome to the Imagine Craft and Stampendous Blog Hop.

I am so excited to be part of this Hop and I hope you enjoy my project!

A year ago I bought my friend a car charm made out of metal, I thought cute idea! I should make one out of paper - never got around to it, until now! I received this kit from Stampendous, called Art Kraftboard Angel. My first thought? Perfect car charm!


Supplies used:

Imagine Crafts/ TSUKINEKO 
  • Radiant Neon - Electric Orange, Electric Yellow, Electric Green
  • StazOn opaque Cotton White
  • Memento Tuxedo Black
  • GooseBumps Shimmer Spray
  • Fantastix coloring tool


Stampendous 
  • Fragments Hot Pink and Hot Lime
  • Shaved Ice
  • Kraftboard Angel Wings


The first thing I did was cover the chipboard tag and heart with a dauber using StazOn Opaque Cotton White as my base. Then I went over it using Radiant Neon Electric Yellow and then stamped the design with Radiant Neon Electric Orange.


Next I attached the diecut sticky panel to the small Kraftboard tag, and sprinkled it with Hot Lime and Hot Pink Colored Fragments I also added some Shaved Ice and burnished it in with my finger.


I highlighted parts of the quote with Radiant Neon Electric Green using using a Fantastix.


Next, I stamped the wings using Memento Tuxedo Black and then daubed them with Radiant Neon Electric Yellow. I also added some color to the banner. I then sprayed the pieces with GooseBumps for some added shine.


I attached the banner to the heart using a blingy brad, cut the wings in half and glued them to each side of the heart. After punching a hole at the top and bottom of the large tag I added some ribbon. You could also add some charms and beads too.

After glueing the heart on the bottom of tag I was done!!!


I love the way my car charm looks hanging in my car.


I'm thinking that this would also make a great Christmas ornament.

Here's another one I made using the new rich new Stazon minis.


Hope you enjoyed my tutorial. Thanks for stopping by.

Nancy


Tuesday, May 13, 2014

The Sea Calls to Me

I entered this sweet mermaid in the AccuCut 4th Annual Challege and we won the 
Home Decor / Mixed Media Category.  This die was designed by Cherly Mezzetti and it is my most favorite !!!! Oh so many possibities ! 
I have a very special love for mermaids, I have been creating cards with them for years . During the summer , I sell them in cute little boutiques on Cape Cod and Martha's Vineyard - they do sell like hot cakes - so I know that there are many mermaid lovers around. 


Here is another mixed media I created , perfect to use as a book end or paper weight.

This mermaid I created to add to a layout that I'm working on , I will post the finished project when it's completed.

Friday, April 4, 2014

Radiant Neon Blog Hop


Welcome to the Radiant Neon Blog Hop
with CardMaker Magazine and Imagine Crafts.


This Blog Hop starts at the CardMaker blog so if you didn't start there you've missed some amazing cards!  If you have come to this blog site from the very talented Kazuko Kocho, you are going in the right order.   For more information on entering to win a collection of Radiant Neon inks please visit the Imagine Crafts Blog.


Welcome to my blog , I am so happy you are hopping by. I love the new Radiant Neons, the colors are perfect for spring and summer or anytime you want to be cheerful and bright !!

For my card today , I first picked my colors of Radiant Neon in Electric Coral, Electric Orange, Electric Yellow, Electric Pink and Electric Green.  I then chose the new Penny Black stamp set "Life's Message" and the die-cut ,"Dancing Leaves" . Next I chose Ink Blushers and GooseBumps from Imagine Crafts, a random background die, a flower punch, scrap white paper and white ribbon .
I began by stamping my sentiment using Radiant Neon in Electric Coral, Electric Orange and Electric Pink on white cardstock and then trimming to size.  I created a layer piece that was slightly larger that I colored using an InkBlusher using Electric Coral.

To create the background, I first die cut the background (you can also use an embossing folder). Next I randomly sponged Electric Yellow, Electric Orange, and Electric Pink and slightly blended the colors together.  To create the leaves, sponge some Electric Green onto white paper and then die cut with the"Dancing Leaves" die from Penny Black.  You will need to cut two sets of the leaves. To make the flowers I sponged Neon Yellow  onto scrap white paper and then punched them out with a flower die and then spray with GooseBumps to give the flowers a shiny appearance. 

To create your own matching ribbon, I started with white ribbon and using an InkBlusher I colored the ribbon with Electric Orange.  I found that to color the ribbon it is best to "pounce" the color (instead of brushing) onto the ribbon to achieve better coloring and to save time.

If you are collecting the Electric Words for entering the Blog Hop prize,
the Electric Word from my blog is "PAPER

The next stop in the Radiant Neon Blog Hop
is the wonderfully talented Vera Yates


Thank you for participating in the Radiant Rain Neon Blog Hop today. I am so excited that you stopped by to check out my card and blog.  As you can tell from my blog I am a newbie to the blogging world. I have been designing and teaching for many, many years but never got into the technology. I would like to invite you to stop by again to check out my projects and support my efforts on blogging .

Good luck and hope you have fun stamping and creating with the new Radiant Neon pigment inks!

Thanks again for your support
Nancy Hawes

Saturday, March 29, 2014

CREATE A PASSWORD BOOK


I thought it would be a great idea to create a book for my passwords, since I always forget them.


I started with a small notebook.


I used these supplies from Imagine Crafts.

To begin my book, I picked the oval wood shape, sponged with Brilliance Lavender, blended with Mediterranean Blue then highlighted using Starlight silver.


I then stamped on top with a stamp from Stampin’ Up and used Galaxy Gold to really make it pop.


Then I cut a piece of Vertigo and ran it through a Cuttlebug embossing folder. Next I sponged some Galaxy Gold on it for color. Then, die cut a frame using a spellbinder die in black to add another pop.


Now, on to transforming the book! To Start, I cut a white piece of paper the size of the book and sponged it the same way I did the wooden piece so they match.


I then used Galaxy Gold to stamp the word stamp from Memory Box and  a cute random motif stamp.


It seemed a little flat to me so I next ran the paper through the embossing folder too. I love the depth that it gave it.  I then added a little more Mediterranean Blue to the raised areas.

Next I sprayed it with Goosebumps for a beautiful shine.


Next, I glued the cover on the book, added the vertigo and the wood shapes with double sided tape. I then added some funky yarn fibers and a little charm and tied it around the mixed media journal.