Sunday, August 17, 2014

Birthday Invitations

This month Air project is "Invitation" , so fun !!!

I make these cute pocket invitations using Imagine Crafts inks and Penny Black Stamps.

For the full tutorial and lots of other wonderful designs please visit http://imaginecraftsblog.com

Have a great and creative day! 
      Nancy


Tuesday, July 22, 2014

Imagine Crafts and Clear Scraps Blog Hop


IC_CS_Badge IMAGINE Crafts is proud to feature projects created by our Artists In Residence this week using products from ClearScraps. We hope you enjoy the creativity our team shares with you this week!  


 I I

I really had such a fun time creating this Clear Scraps Album !! 
But I'm  just going to explain a few techniques because I got a little carried away with this project.
To get started, get out your StaZon inks, pick some theme photos, and add a great paper collection. I choose beach pictures and AUTHENTIQUE 's Anchored Collection - lov this line. Also rubberstamps , diecuts, ribbon and anything else that matches your theme.

For the cover, start on the back side, I used a stencil with Stazon Blue Hawaii , inked the back of the acrylic cover, wait till it drys than covered it with pattern paper. For the front I glued a cute quote card, added Creative Medium vintage with a palette knife and stuck mini rocks and shells into it. I love the look of the gold - it looks like sand.


I used a white silk ribbon and dyed with TSUKINEKO All Purpose Ink , just put some in a plastic bag with your ribbon and knead to color the ribbon. Than I sprayed with fire works for a little shine.


Next just have fun decorating .
Page 1

Page 2


Page 3

For this photo , I loved the way the surf was around dancing around her feet. So I followed it with some glue and sprinkled shave ice into it. On the sand I swirled Creative Medium with the tip of a palette knife. What a cool effect ! It might be a little hard to see in the picture but kind of looks crackled.


There is a middle acrylic page between these two pages, which I sponged the bottom with Stazon 
Midnight blue . I punched out a wave border and used it as a stencil across the top. I added a flower ribbon sprayed with Fireworks for interest .
Page 4

Page 5


Page 6


Last two pages 

Page 7

I stenciled the last acrylic page and added a journaling card. 

Page 8

Front cover


Supply List:

Imagine Crafts/ TSUKINEKO 

Stazon 
Midnight Blue, Blue Hawaii, Orange Zest, Emerald Green, St. Valentine, Ganache, Metallic Silver
GooseBumps 
Creative Medium
Fireworks - Paris Dusk and Summer Sky
All Purpose Ink- Lemon Yellow and Tropical Lagoon

ClearScraps
Mixed Album Acrylic and Chipboard - Cutie

AUTHENTIQUE 
Anchored Collection

May Arts
Ribbon

Assorted 
Rubber Stamps 
Border punch
Diecuts

I hope you enjoyed my project today , as always I really appreciate your comments and support !!

                          Thank you for stopping by
                                Nancy


Here are the other projects for today:

Isha Gupta

Nancy Hawes ( your here )

Penny Ward

If you've missed the other projects this week please visit the IMAGINE Crafts Blog.

Tuesday, June 10, 2014

Imagine Crafts and Dreamweaver Blog Hop


L This week IMAGINE Crafts and Dreamweaver Stencils are featuring a Blog Hop showcasing our fabulous products and providing some inspiration for you to get creative! Be sure to leave your comments on each artist's post that you visit for your chance to win a fabulous prize that includes IMAGINE Crafts and Dreamweaver products. Contest closes at 11:59pm PST on Sunday, June15th.  

Welcome- I'm so happy to be participating in today's hop. Dreamweaver has so many beautiful stencils to choose from, but since it's summer I went with a beach theme.


I love to add texture to my projects, so I decided to use Creative Medium with the stencils to make them into beautiful embellishments . 
The best way to do this is with a palette knife.
I use the back of the knife and spread it on , like icing a cake.
When your piece is dry , add a little Niagara Mist with a dauber. The Creative Medium is a resist so you get a really cool affect. You might need to wipe off the raised areas with a paper towel.


For the background I daubed a 1 3/8 x 1 3/8 piece of white paper with Niagara Mist and ran it through a crimper.

I randomly stenciled the shell on a 3x3 piece of white paper using Niagara Mist and Sage. Ink your card base with the same colors and emboss with your favorite folder add a sentiment and your done. 


Supplies:

Imagine Crafts / TSUKINEKO 
Creative Medium
Versa Magic Ink - Sage , Niagara Mist 

DREAMWEAVER STENCILS
Stencils

Thank you for stopping by and I hope you enjoyed my project today.
I alway appreciate your comments 
 Nancy


Here are the other posts from the Artists In Residence for today:

Kazuko Kocho

Nancy Hawes

Cathy Andronicou

And presenting the posts from the Dreamweaver Design Team for today:

Dream It Up!

Lynn Mercurio

Louise Healy

Jamie Martin

Kristine Reynolds

***Blog Hop Hint – if you click on a link that takes you to a page saying something like “Sorry this page cannot be found” just click on the header at the top of the blog (usually a picture or the blog’s name) and it will take you to that blog’s most recent post. That post *should* be our hop. If not, you can probably scroll down a short way to find the hop post.

Monday, June 2, 2014

Imagine Crafts and Altered Pages Blog Hop

Each Tuesday during the month of June, IMAGINE Crafts would like to share with you the projects that our Artists In Residence have created using products from Altered Pages. The Design Team at Altered Pages will also be featuring IMAGINE Crafts/Tsukineko products on their blog throughout the month and we hope that you'll visit the Altered Pages Blog to see the fabulous projects that their team has designed as well.

Here are the other projects from the Artists In Residence Team:

Allie Gower

Nancy Hawes

Kazuko Kocho

So today on our Blog Hop with Altered Pages I decided to make a shabby chic step card.
I received this awesome package from Altered pages that included all sorts of cool vintage papers, ribbon, charms and stamps. One of the sheets of paper caught my eye right away, it had doll heads and cute little poems on it. Because I had just picked up a package of photos that I had taken at Easter, and in it was the sweetest picture of my grand daughter and thought perfect combo !!!!


Doll Sheet


So first I inked a bunch of book and pattern papers using Radiant Neons. Yes they are bright, but they blend so well. You can really achieve a very soft tone using a sponge dauber!


I punched out some flowers and put these cool flat beads from Altered Pages in the middle - oh so pretty !


I played around with the papers to create my design, step cards are really so fun to create.they are like mini shadow boxes .


I daubed a little Radiant Neon Electric Coral onto a charm added a bow and some lace for my shabby chic look. Simple and quick ! Perfect gift although I am keeping this one on my night table. 


Supplies :
Imagine Crafts/ TSUKINEKO 
Radiant Neon:
Electric Coral
Electric Yellow
Electric Orange

Altered Pages
Papers, Charms, Ribbon

AccuCut Craft 
StepCard Diecut

I hope you enjoyed my project today, if you need directions making a step card please let me know in a comment and I would be happy to send you directions. As always I appreciate your comments and support . 
                Thank you
                   Nancy


Thursday, May 29, 2014

Mixed Media Blog Hop with Imagine Crafts and Viva Las VegaStamps

Mixed Media Blog Hop

 Welcome to the IMAGINE Crafts and Viva Las VegaStamps! Blog Hop. For the next week, our two design teams will be featuring some amazing projects featuring products from both our companies. Amazing stamps require amazing ink, right?

Mixed Media Prize Package

We're proud to announce your chance to win one of three different Mixed Media Prize Packages from IMAGINE Crafts and Viva Las VegaStamps! You have until midnight PST on Sunday, May 31st 2014 to comment on as many of the Design Team Blog Posts from this week as possible. On Monday, June 1st we’ll draw three random blog posts and one comment from each of those posts will win a prize package!

Ready for some inspiration from our artists?

Here are today's posts from IMAGINE Crafts:


and from Viva Las VegaStamps!:


  If you're just joining us on the Mixed Media Blog Hop, here are the links to the previous days posts:


Saturday


Sunday


Monday


Tuesday


Wednesday


Thursday


***Blog Hop Hint – if you click on a link that takes you to a page saying something like, “Sorry this page cannot be found” just click on the header at the top of the blog (usually a picture or the blog’s name) and it will take you to that blog’s most recent post. That post *should* be our hop. If not, you can probably scroll down a short way to find the hop post.


Welcome to my blog! I hope you enjoy my card for the Blog Hop . Being from New England, and spending summers at Martha's Vineyard, I have always loved using Mermaids in my designs, they have always given me creative inspiration. After seeing that Viva Las Vega Stamps has a wonderful selection of mermaids stamps, I will definitely be adding more to my collection. Sorry dear hubby.

Here is the project that I created.


Supplies Used:

Imagine Crafts/ TSUKINEKO 

  • MEMENTO
    • Tuxedo Black
    • Bahama Blue
    • Lilac Posies
    • Lulu Lavender
    • Pear Tart
    • Dandelion
    • Summer Sky
    • Toffee
  • Tack ' N Peel
  • GooseBumps Spray
  • Sponge Daubers
  • Fantastix


Viva Las VegaStamps

  • Mermaid Stamp plate 1104


Other Manufacturers

  • Crafters Workshop - stencil
  • Spellbinders - diecuts
  • EK Success Martha Stewart leaf punch


Let's get started --

Have you ever used Imagine Crafts Tack ' n Peel? It really is an amazing product, it is simple, holds great, and my favorite part it is reusable! 


To start off, I first stamped the top half of her body using Tuxedo Black and then stamped the tail portion using Bahama Blue onto white stamping paper.


Next, using a Fantastix, I colored both her upper body and her tail section using the other colors of Memento inks. I then cut out both sections and sprayed her tail with GooseBump for some added sparkle.


To create the card base I used a piece of 11" X 6 1/2" blue card stock folded in half . Using my stencil and fingertip dauber, I inked around the edges using Bahama Blue and Summer Sky of my card base and the frame that I had cut with my Spellbinders die.

I then embossed a 4 1/2" X 5 1/2" piece of white card stock and gently daubed with some Pear Tart, Summer Sky and Dandelion to really enhance the design. Next I die cut a decorative corner and inked it with Lulu Lavender and Dandelion. I punched out some branches, inked them with Pear Tart and used them for the seaweed.


I then adhered all the layers together, added a decorative brad to the corner and attached it to my card base. Using pop dots to attach the mermaid I completed my card.


I hope you enjoyed my card today and as always, I always appreciate your support and comments.

Please stop by and visit again! 

           Thank You,
            Nancy


Wednesday, May 21, 2014

Celebrate NEON Blog Hop

Stampendous and Imagine Crafts Header 

Welcome to a week of fantastic collaboration between IMAGINE Crafts and Stampendous! We have to admit that our two companies were made for each other and we're proud to have shared a long relationship of working together. After all, what are stamps with out ink? The projects created by our artists this week feature IMAGINE Crafts Radiant Neon™ inks paired perfectly with coordinating colors of Fran•táge Color Fragments from Stampendous, along with some of their newest stamp designs and Stack Art kits.

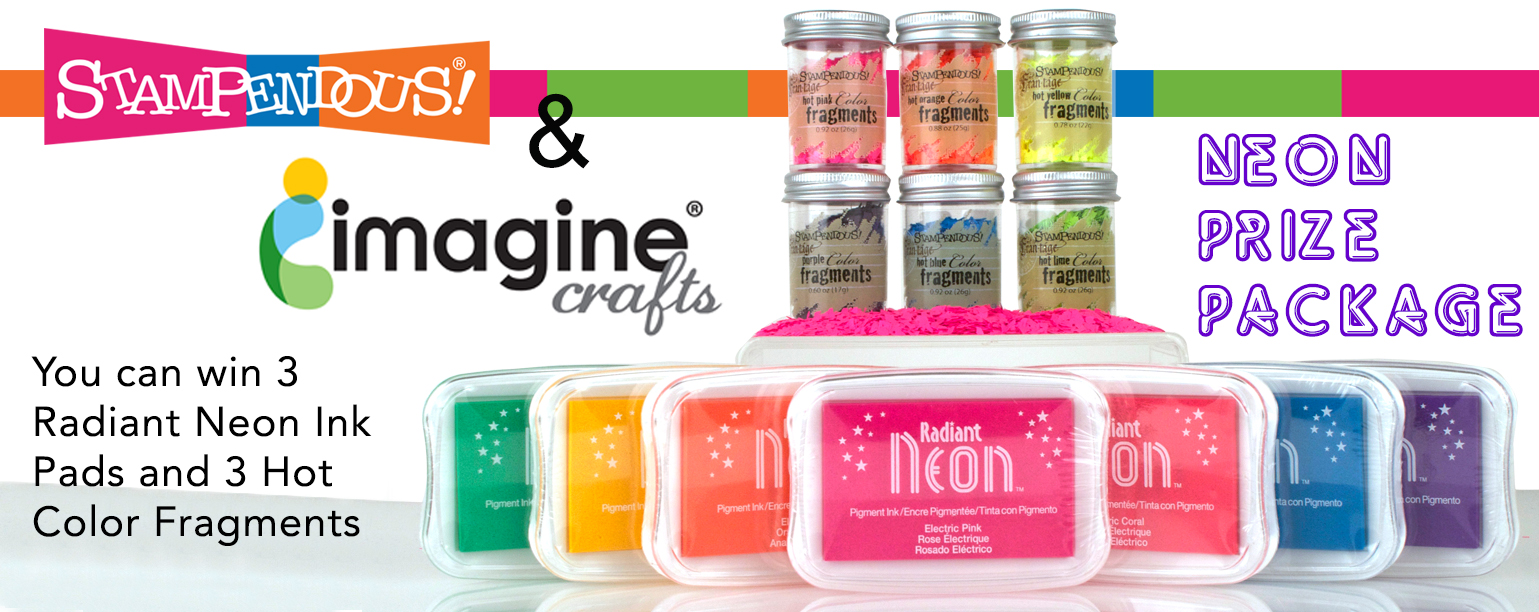
STM Imagine Crafts Prize Package

  You can win 3 of the brand new Radiant Neon™ ink pads and 3 jars of our Color Fragments! We'll give away three prize packages (color is our choice) to U.S. Mailing addresses. You have until the end of Sunday, May 25 to comment on as many of the Design Team Blog Posts from this week as possible. Monday we'll draw three random blog posts and one comment from each of those posts will win a prize package! You can find the Official Rules for all our contests HERE. We'll announce winners next week, so be sure to check back with us or subscribe to our blog or Facebook page!

So are you ready for some exciting inspiration?


Kristine Reynolds

Darsie Bruno

Janelle Stollfus

Jamie Martin

John Creighton Petersen

Krissy Fossmeyer

Tobi Crawford

Tenia Nelson

Wendy Price

Rhea Weigand

Lea Kimmel

Suzanne Czosek


***Blog Hop Hint - if you click on a link that takes you to a page saying something like, "Sorry this page cannot be found," just click on the header at the top of the blog (usually a picture, or the blog's name), and it will take you to that blog's most recent post. That post *should* be our hop. If not, you can probably scroll down a short way to find the hop post.

If you missed any of the previous days of the Hop, select one of these links to take a look at the artists and the projects that they created: MONDAY May 19th, TUESDAY May 20th, WEDNESDAY May 21st, and THURSDAY May 22nd.

You can check out the Official Rules for all our contests if you have questions.


Welcome to the Imagine Craft and Stampendous Blog Hop.

I am so excited to be part of this Hop and I hope you enjoy my project!

A year ago I bought my friend a car charm made out of metal, I thought cute idea! I should make one out of paper - never got around to it, until now! I received this kit from Stampendous, called Art Kraftboard Angel. My first thought? Perfect car charm!


Supplies used:

Imagine Crafts/ TSUKINEKO 
  • Radiant Neon - Electric Orange, Electric Yellow, Electric Green
  • StazOn opaque Cotton White
  • Memento Tuxedo Black
  • GooseBumps Shimmer Spray
  • Fantastix coloring tool


Stampendous 
  • Fragments Hot Pink and Hot Lime
  • Shaved Ice
  • Kraftboard Angel Wings


The first thing I did was cover the chipboard tag and heart with a dauber using StazOn Opaque Cotton White as my base. Then I went over it using Radiant Neon Electric Yellow and then stamped the design with Radiant Neon Electric Orange.


Next I attached the diecut sticky panel to the small Kraftboard tag, and sprinkled it with Hot Lime and Hot Pink Colored Fragments I also added some Shaved Ice and burnished it in with my finger.


I highlighted parts of the quote with Radiant Neon Electric Green using using a Fantastix.


Next, I stamped the wings using Memento Tuxedo Black and then daubed them with Radiant Neon Electric Yellow. I also added some color to the banner. I then sprayed the pieces with GooseBumps for some added shine.


I attached the banner to the heart using a blingy brad, cut the wings in half and glued them to each side of the heart. After punching a hole at the top and bottom of the large tag I added some ribbon. You could also add some charms and beads too.

After glueing the heart on the bottom of tag I was done!!!


I love the way my car charm looks hanging in my car.


I'm thinking that this would also make a great Christmas ornament.

Here's another one I made using the new rich new Stazon minis.


Hope you enjoyed my tutorial. Thanks for stopping by.

Nancy